This guide article will be walking you through how to whitelist Alerts in the Assure software including how this can be done straight from the Alerts History page. You can also watch our video tutorial on how to do this.
Whitelisting Alerts from the Alerts Whitelisting section
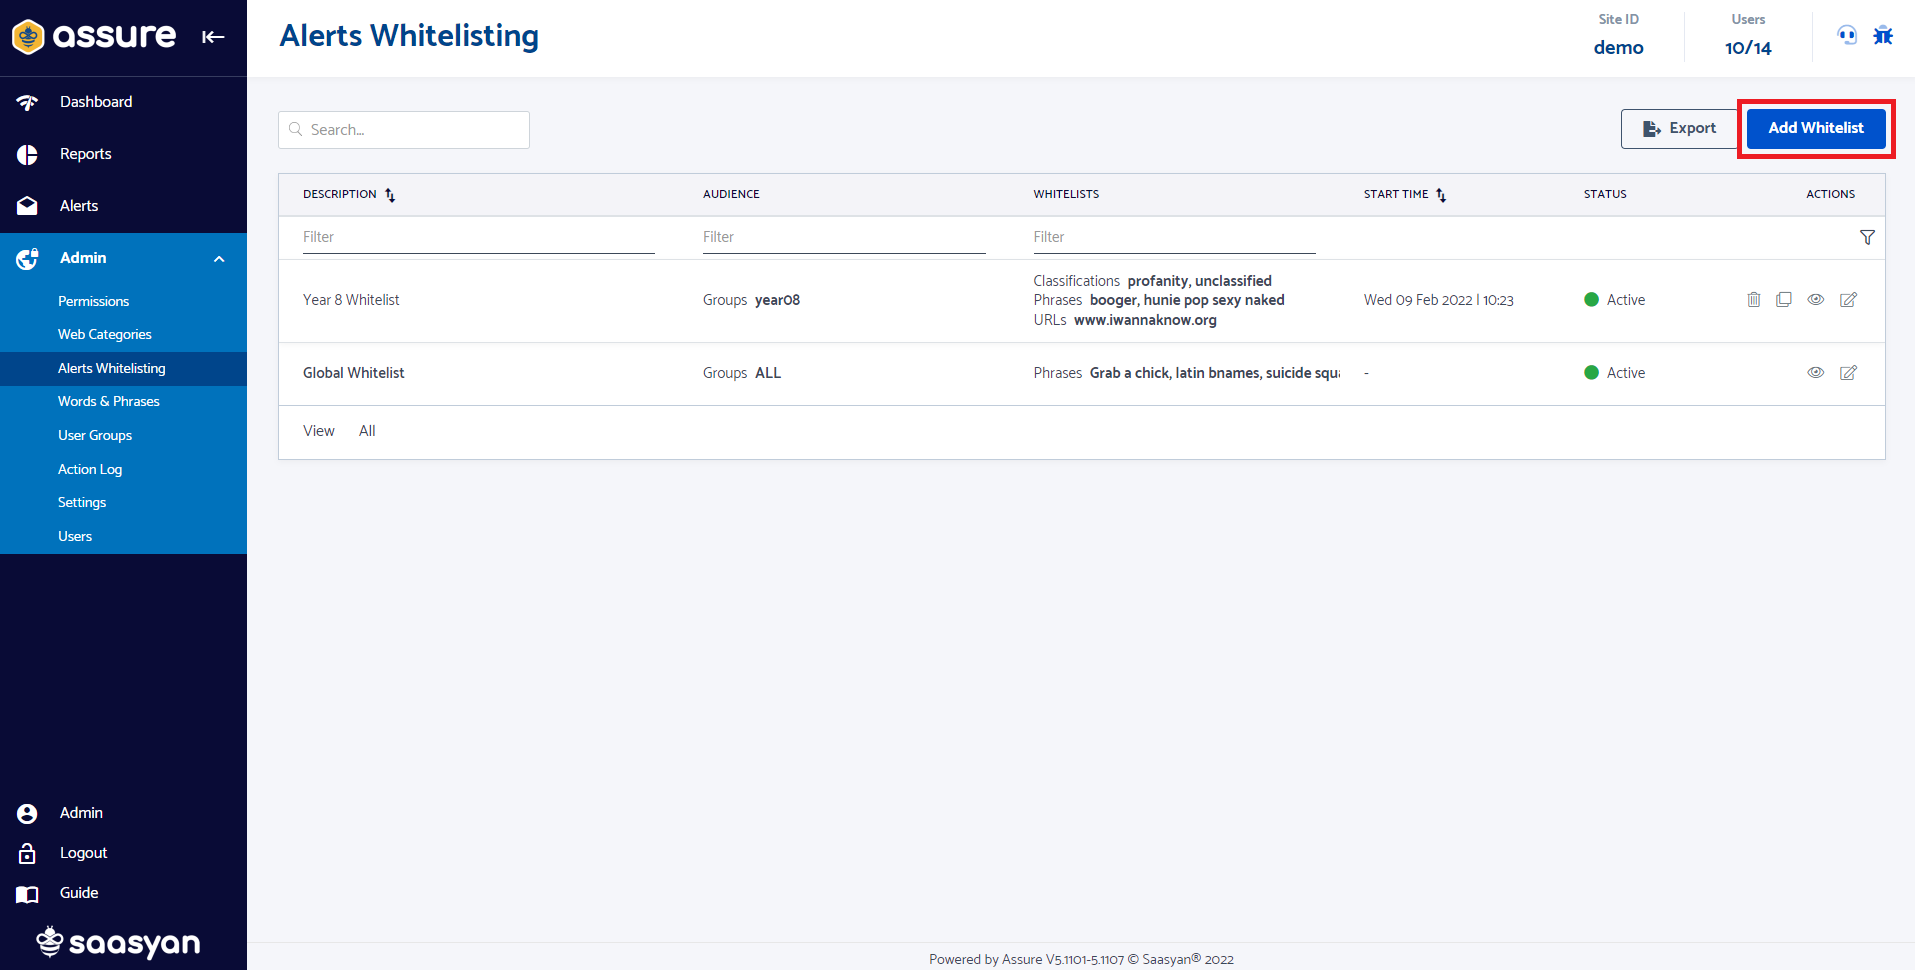
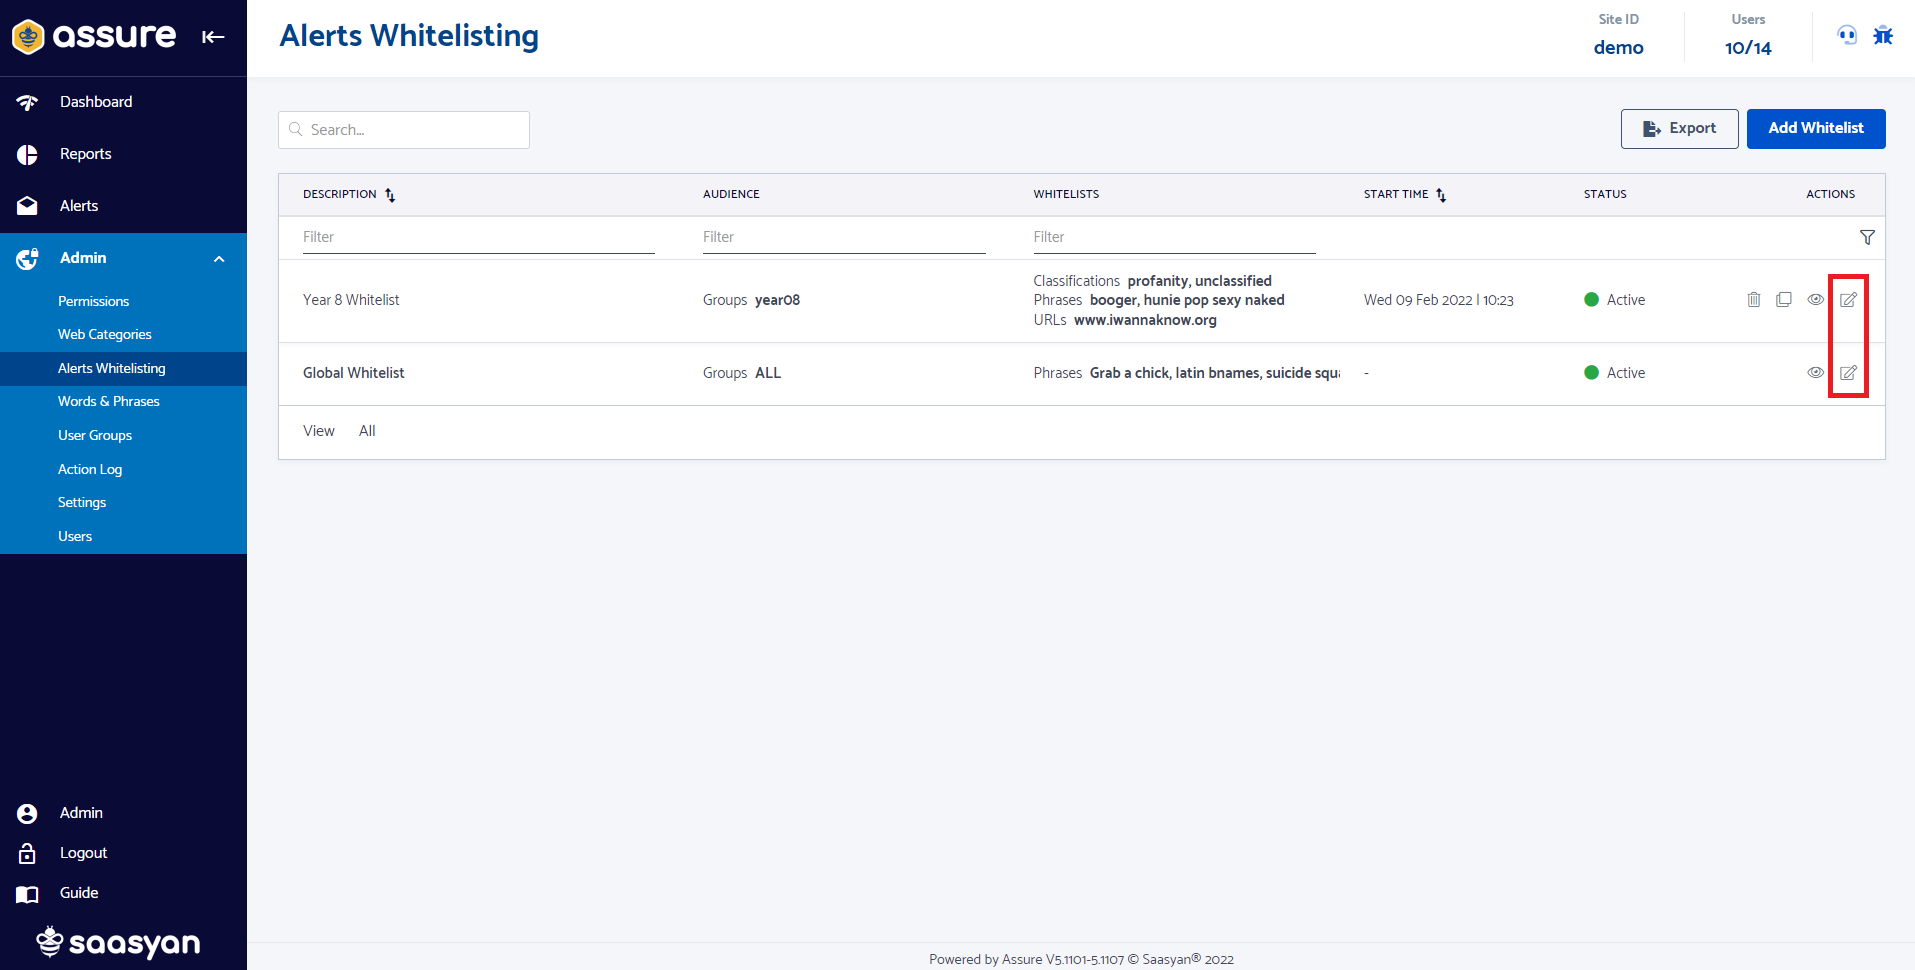
- Navigate to Admin > Alerts Whitelisting section.
- To edit any of the existing whitelists on this page, you can click the Edit button on the right and modify any of the field sections in the form depending on what you would like to whitelist (Classifications, Phrases, URLs).

NOTE: The Global Whitelist is built to apply to all Users and Groups that are being monitored using Assure. - Click the Add Whitelist button to create a new whitelist for Groups or select Users.
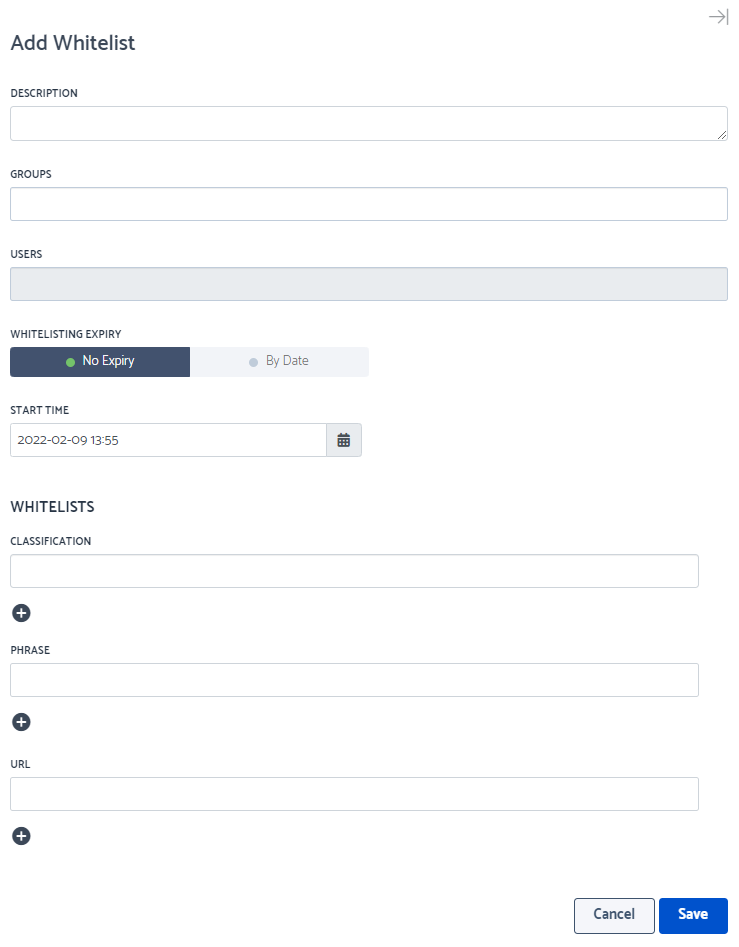
Enter:
Description - to identify the new whitelist.
Group - select single or multiple groups to apply this whitelist to.
Users - select individual users to apply this whitelist to or keep selection as "All" users in that group(s).
Whitelisting Expiry - select whether this whitelist will have an expiration date or not.
* Start time - select the date and time that this whitelist will be active from.
* End time (if By Date option is selected for this whitelist to expire) - select the date and time that this whitelist will expire.
Classification - select the classifications (from Words & Phrases Dictionary) that you would like to whitelist for this group.
Phrase - enter the words and phrases that you would like to whitelist for this group.
URL - enter the base URLs (website pages) that you would like to whitelist for this group.
NOTE: You must enter at least one Classification, Phrase or URL in the form in order to save the Whitelist.
NOTE: If you have already added some Classifications, Words and Phrases, or URLs to the Global Whitelist, they do not need to be added to any other whitelist you create since the Global Whitelist already applies to all users being monitored by Assure regardless of the Group they are a part of.
Click the Save button once your Whitelist settings are complete.
Whitelisting Alerts from the Alerts History page
1. Navigate to Alerts > History tab.
2. Click the Whitelist button on the right (shown for each alert record).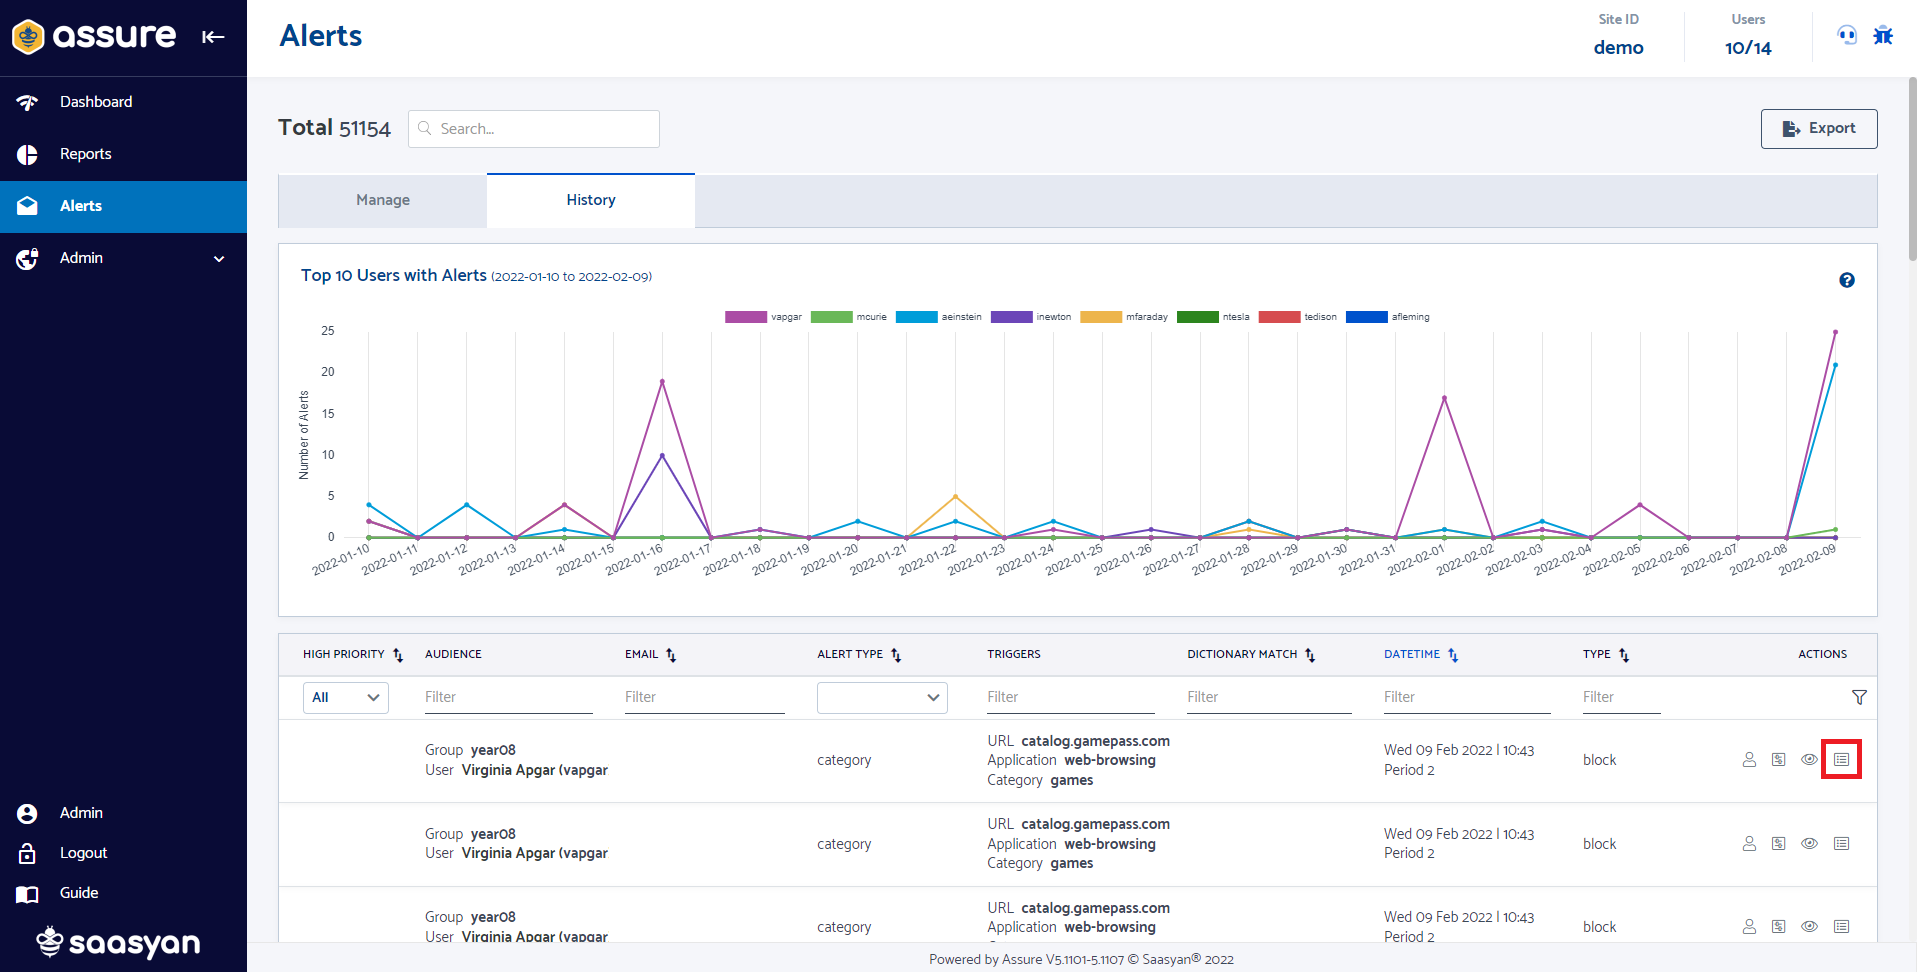
3. Click the Edit button for the Whitelist that you would like to add this Alert item to.
Or click the Add New button at the top of this pop-up window to create a new Whitelist and add this Alert item to it.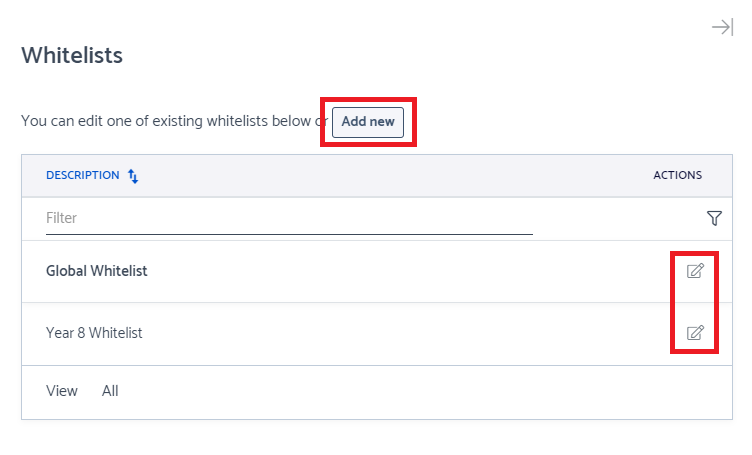
4. Click the Save button.


Watch the video tutorial here: