This guide article will be walking you through how to navigate the Dashboard screen in the Assure software. You can also watch our video tutorial for a live walkthrough.
The Dashboard is the area of the software that will help you visualise the data you have been given access to.
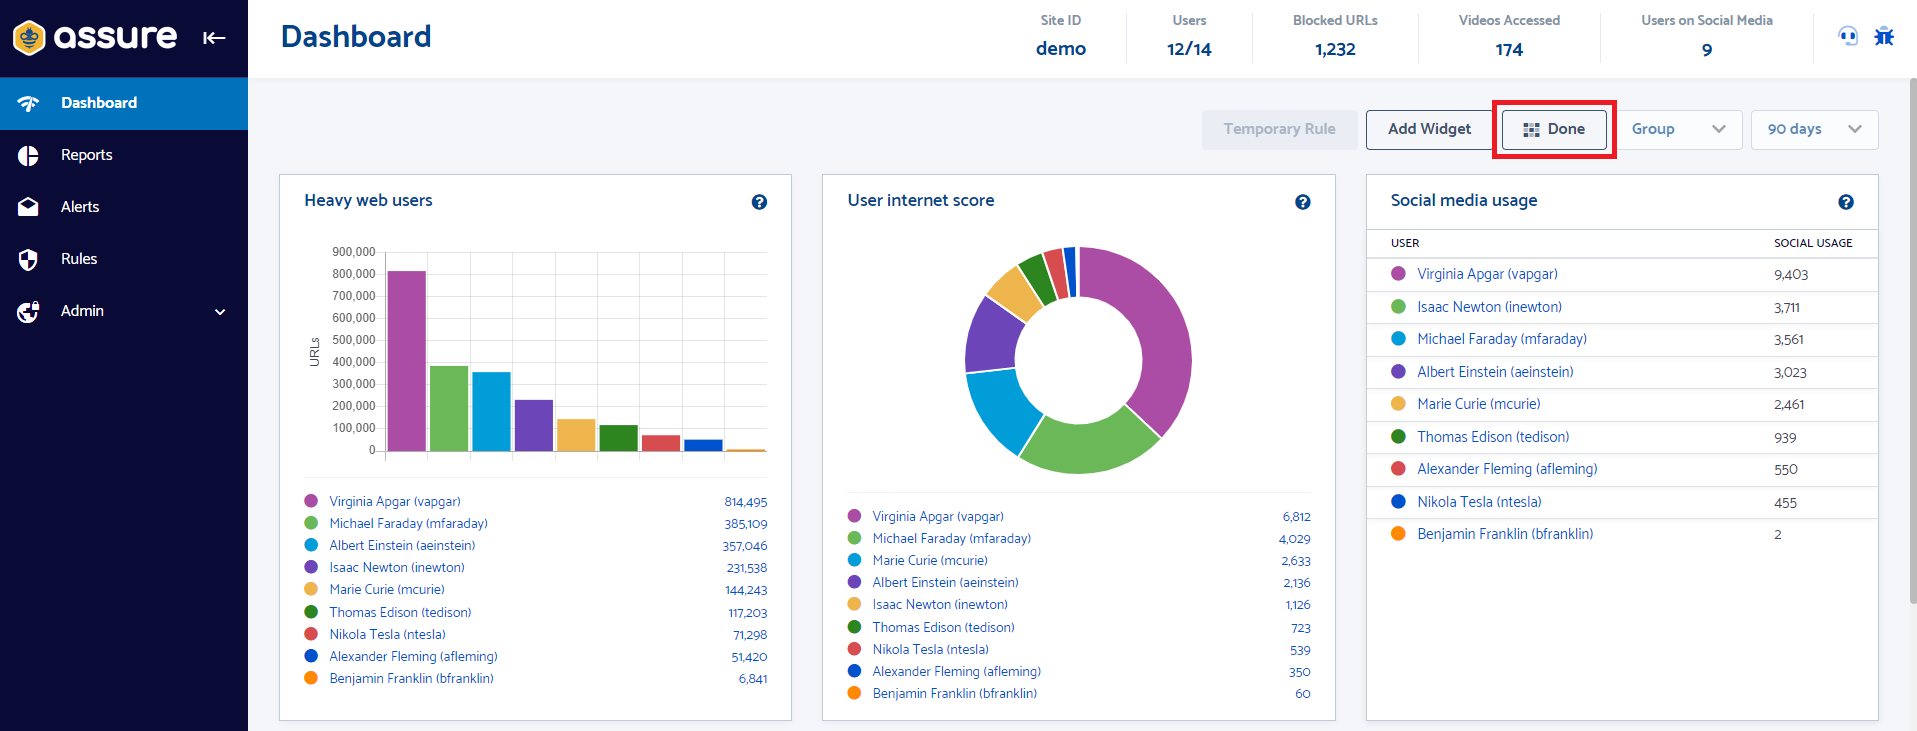
- Click to use the Group dropdown to narrow the data shown on the Dashboard to a specific group.

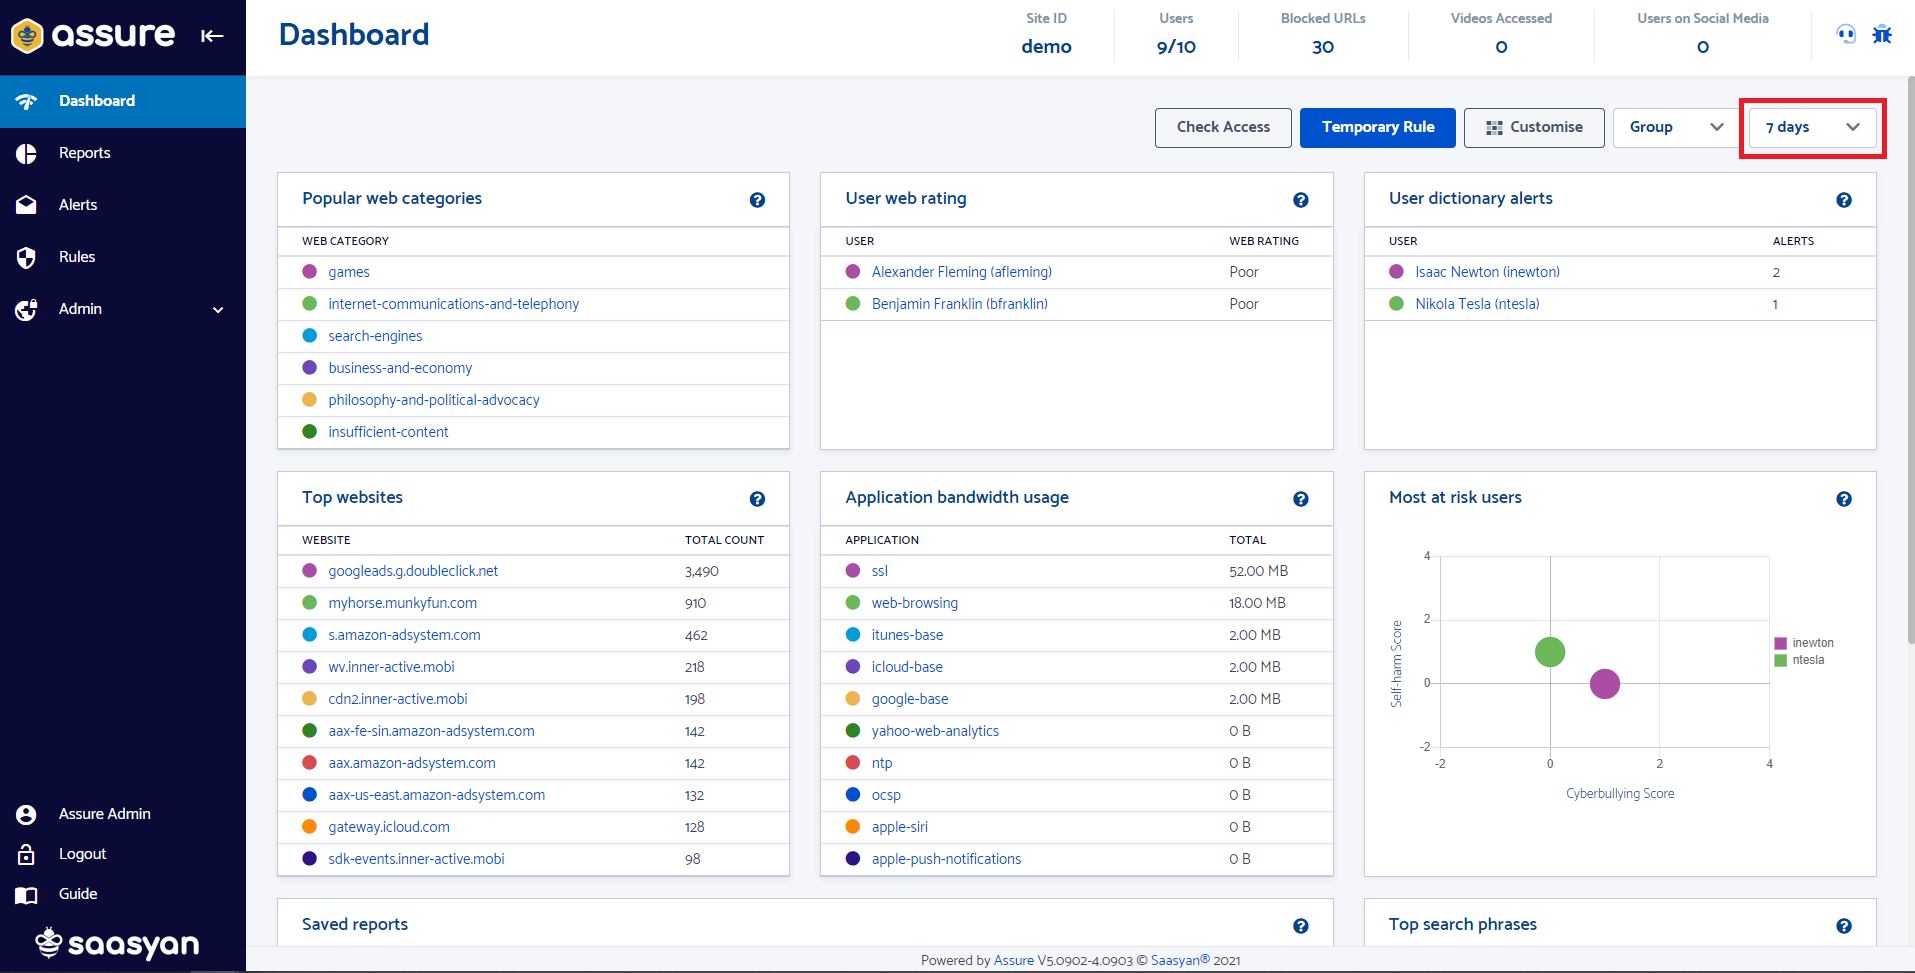
- Click to use the Days dropdown to toggle the number of previous days you would like to see data for.

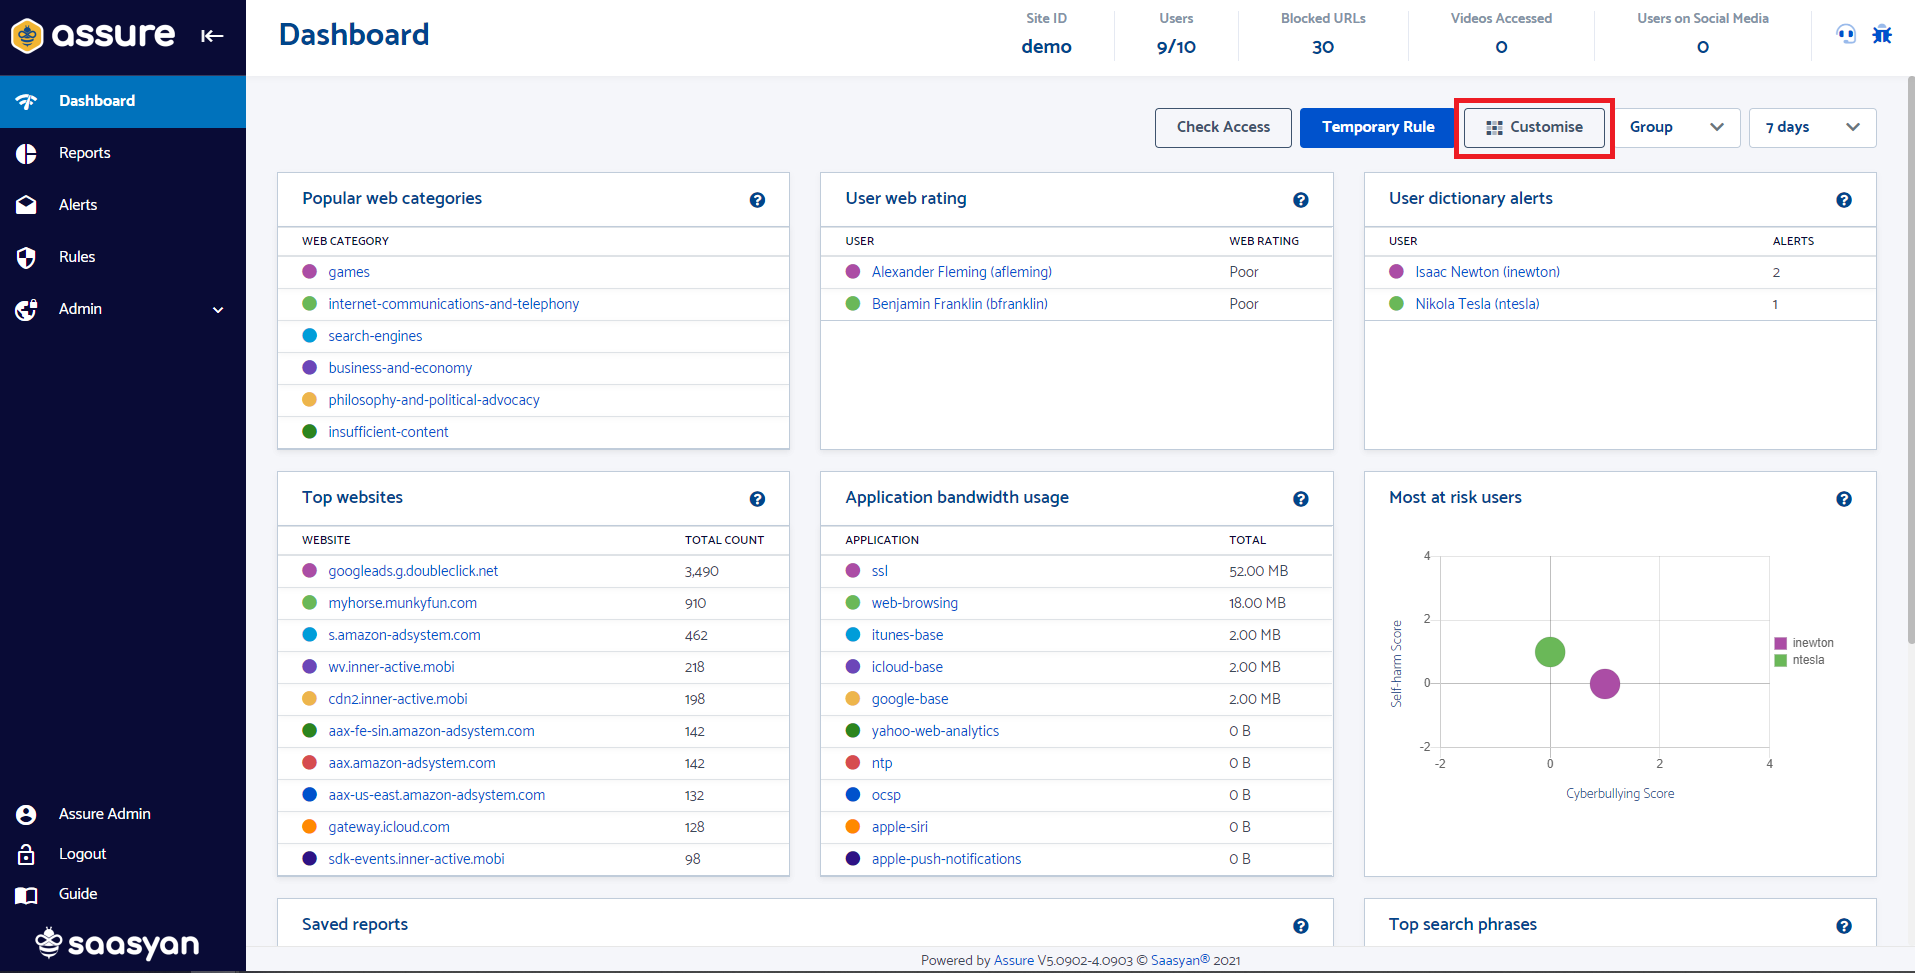
- To customise the widgets seen on your Dashboard, click the Customise button.


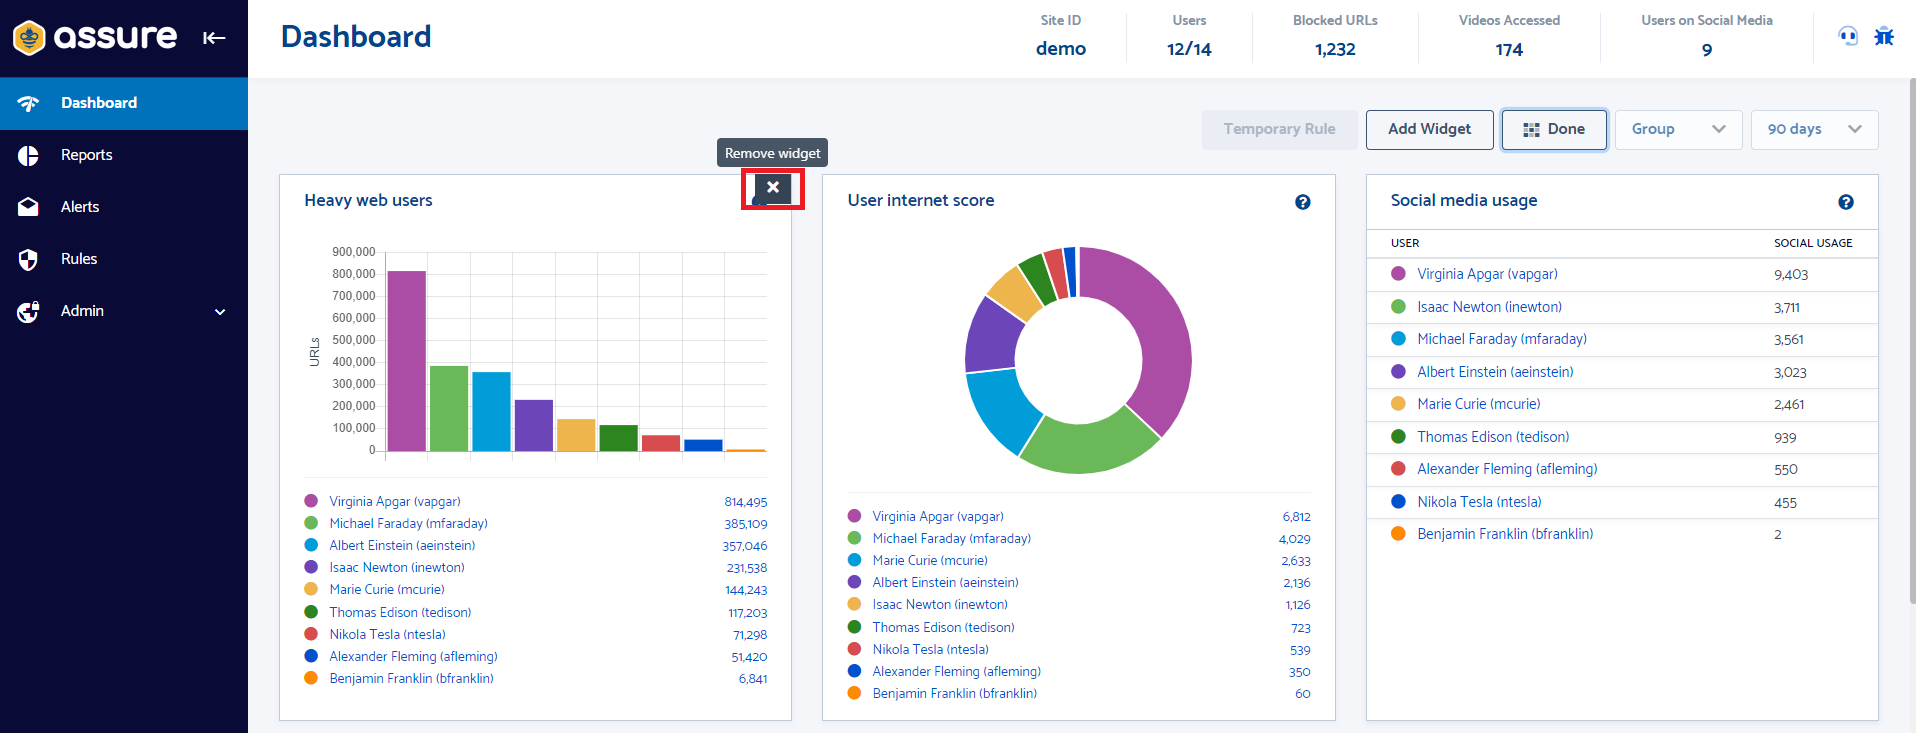
- You can remove any widget by clicking the X button that appears for each widget.
- You can drag and drop any of the widgets to another spot on the Dashboard in case you want to reorder them and/or have some appear at the top of the page.
- You can resize widgets by clicking and dragging the edges of the widget in the direction you would like to expand or shrink them in. - Click the Add Widget button to see a list of other widgets you can add to the Dashboard.
- Click on the widgets you want to add to see them appear on the Dashboard.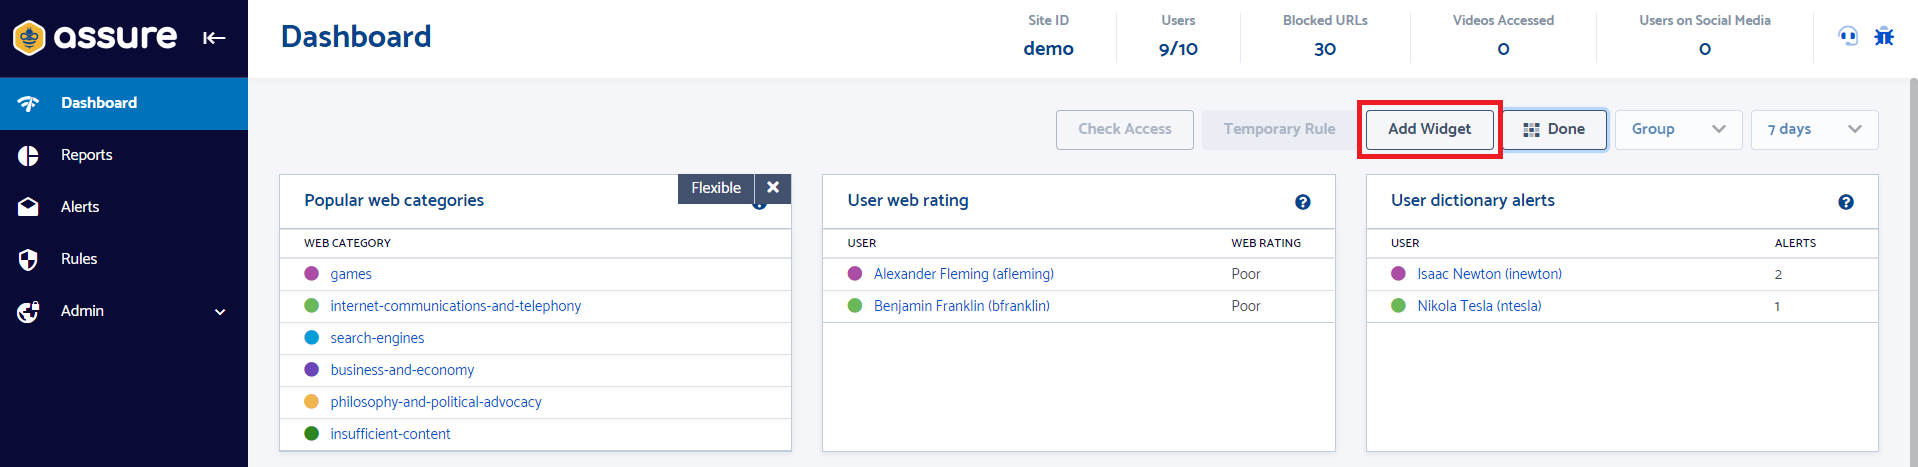
- Click on the Done button to lock the widgets into place after customising them.


- When clicking on any links within a widget, the following things can happen.
- It will redirect you to a Report for that user showing the data in the widget in more detail.
- You will see a breakdown of students that have data relating to any classifications triggered in alerts or websites they've visited that relate to a specific web category for example.
- Some widgets may redirect you to the Alerts History page to show a data breakdown of alerts triggered for that student.