This guide article will be walking you through how to create and use the Web report in the Assure software including how to save and export reports. You can also watch our video tutorial on how to do this.
1. Navigate to the Reports module, and click the Web Report tab on the left.
2. Populate the Group and Timeframe fields, and click the Generate Report button.
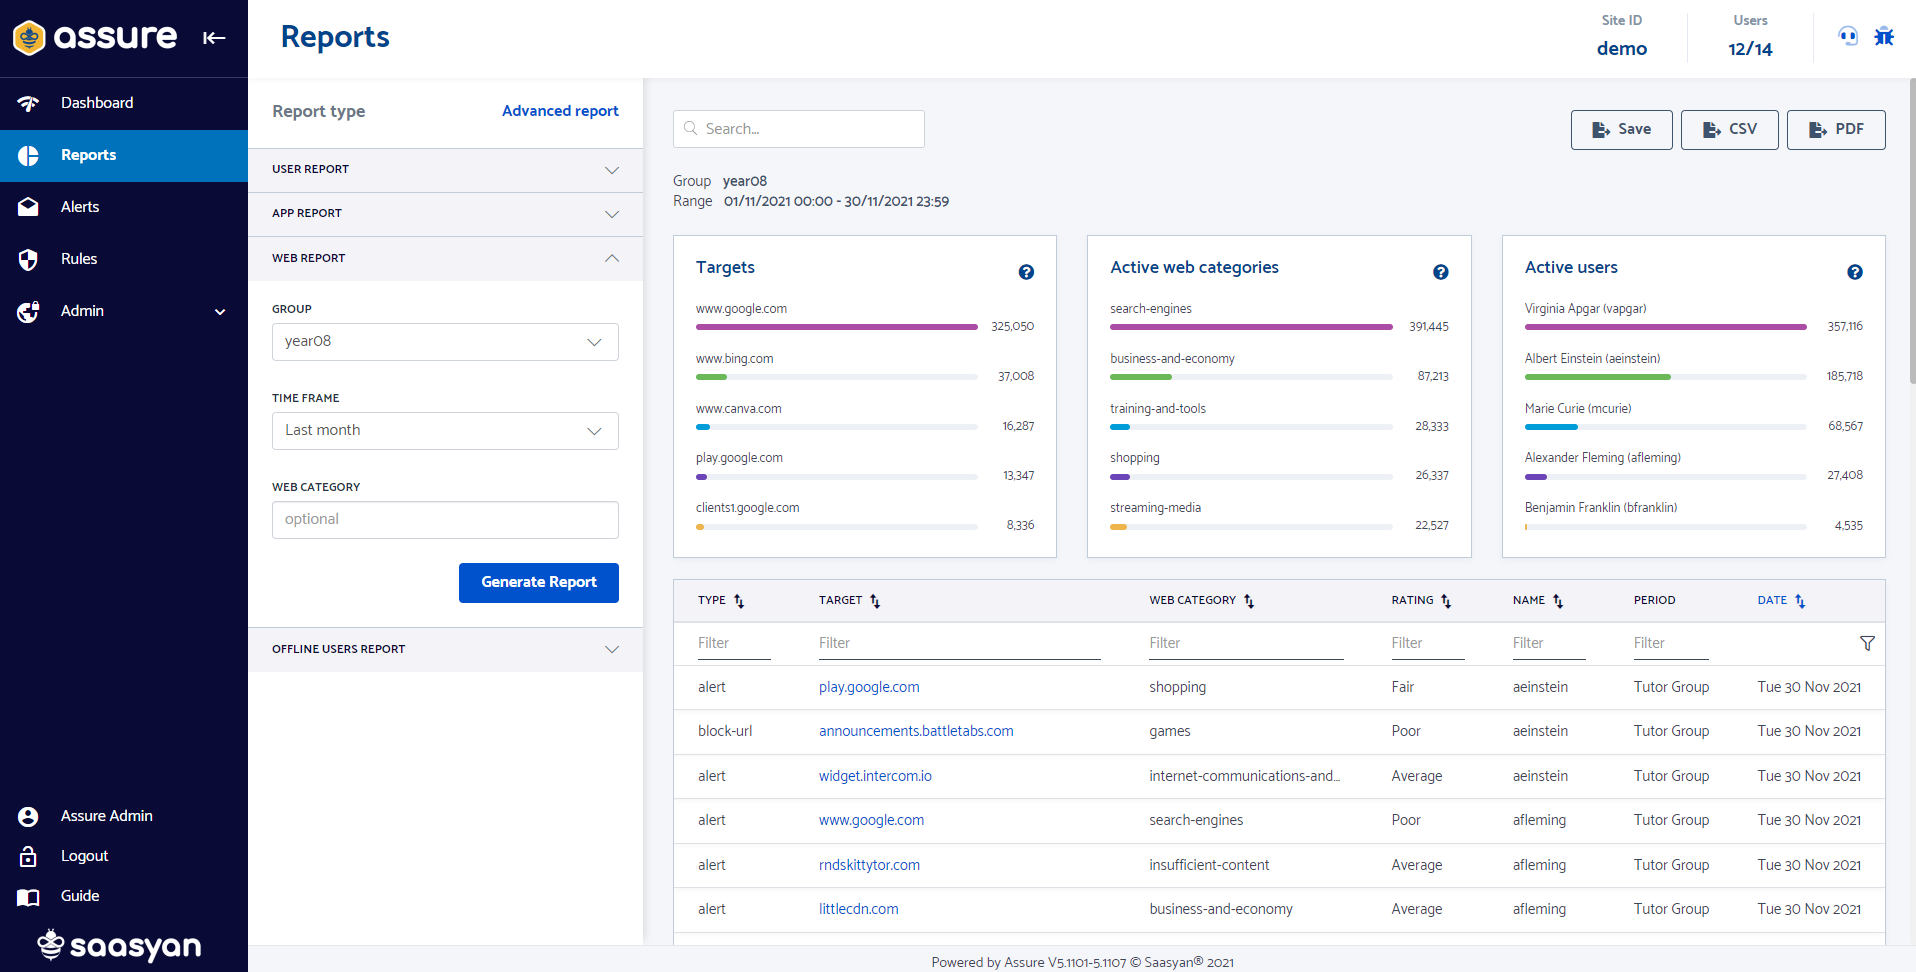
3. At the top of the page, you will see visual breakdowns for:
- The total number of visits to specific web pages for the group during the timeframe selected
- A Top 5 list of web categories ranked by the total number of visits per web category for that timeframe
- A Top 5 list of users ranked by the total number of web page visits per user for that timeframe
You will also see a detailed list of web pages visited by the selected group including a breakdown of:
- whether they were allowed (‘alert’ type) or blocked,
- the web category that each page falls into,
- the web ratings for the web pages visited based on the rating that was set up for the related web category,
- the user name of who visited the web page and
- when they visited each web page during that timeframe (Period and Date).
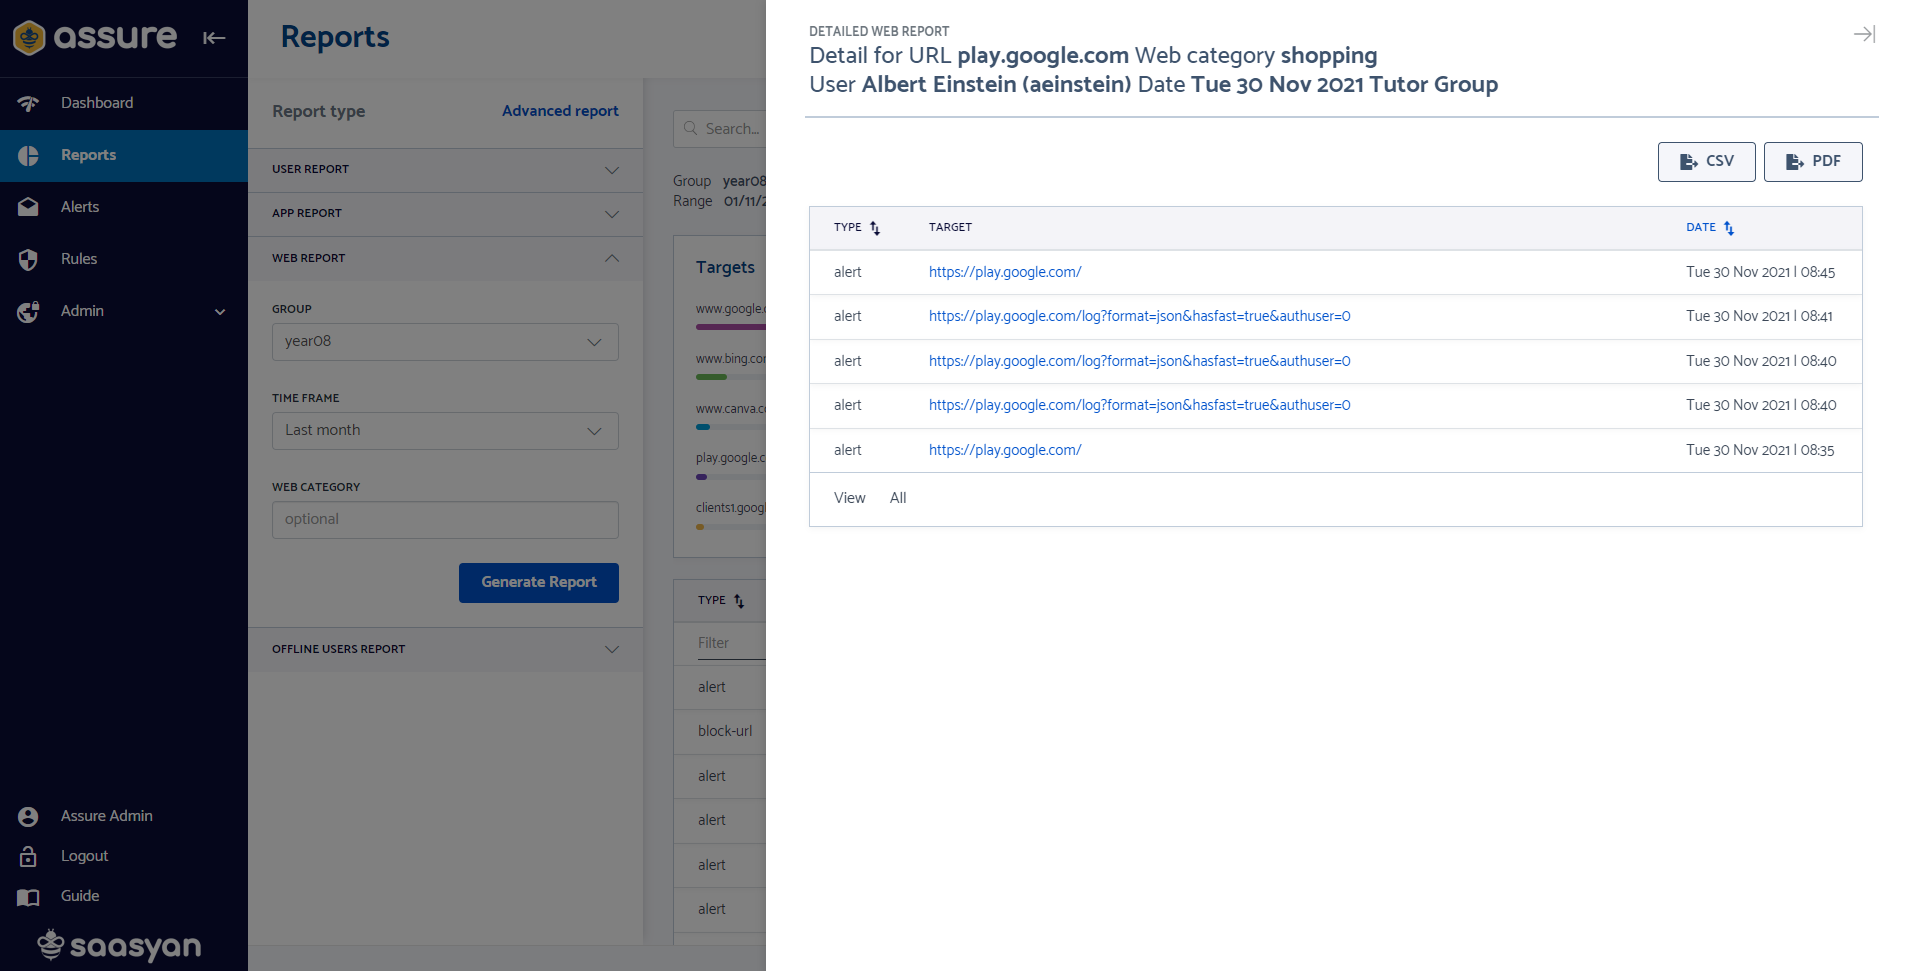
When clicking on any web page link in the listing, you can see more detail on how often the user has accessed this particular web page during that time. If needed, you can export this report as a CSV or PDF.
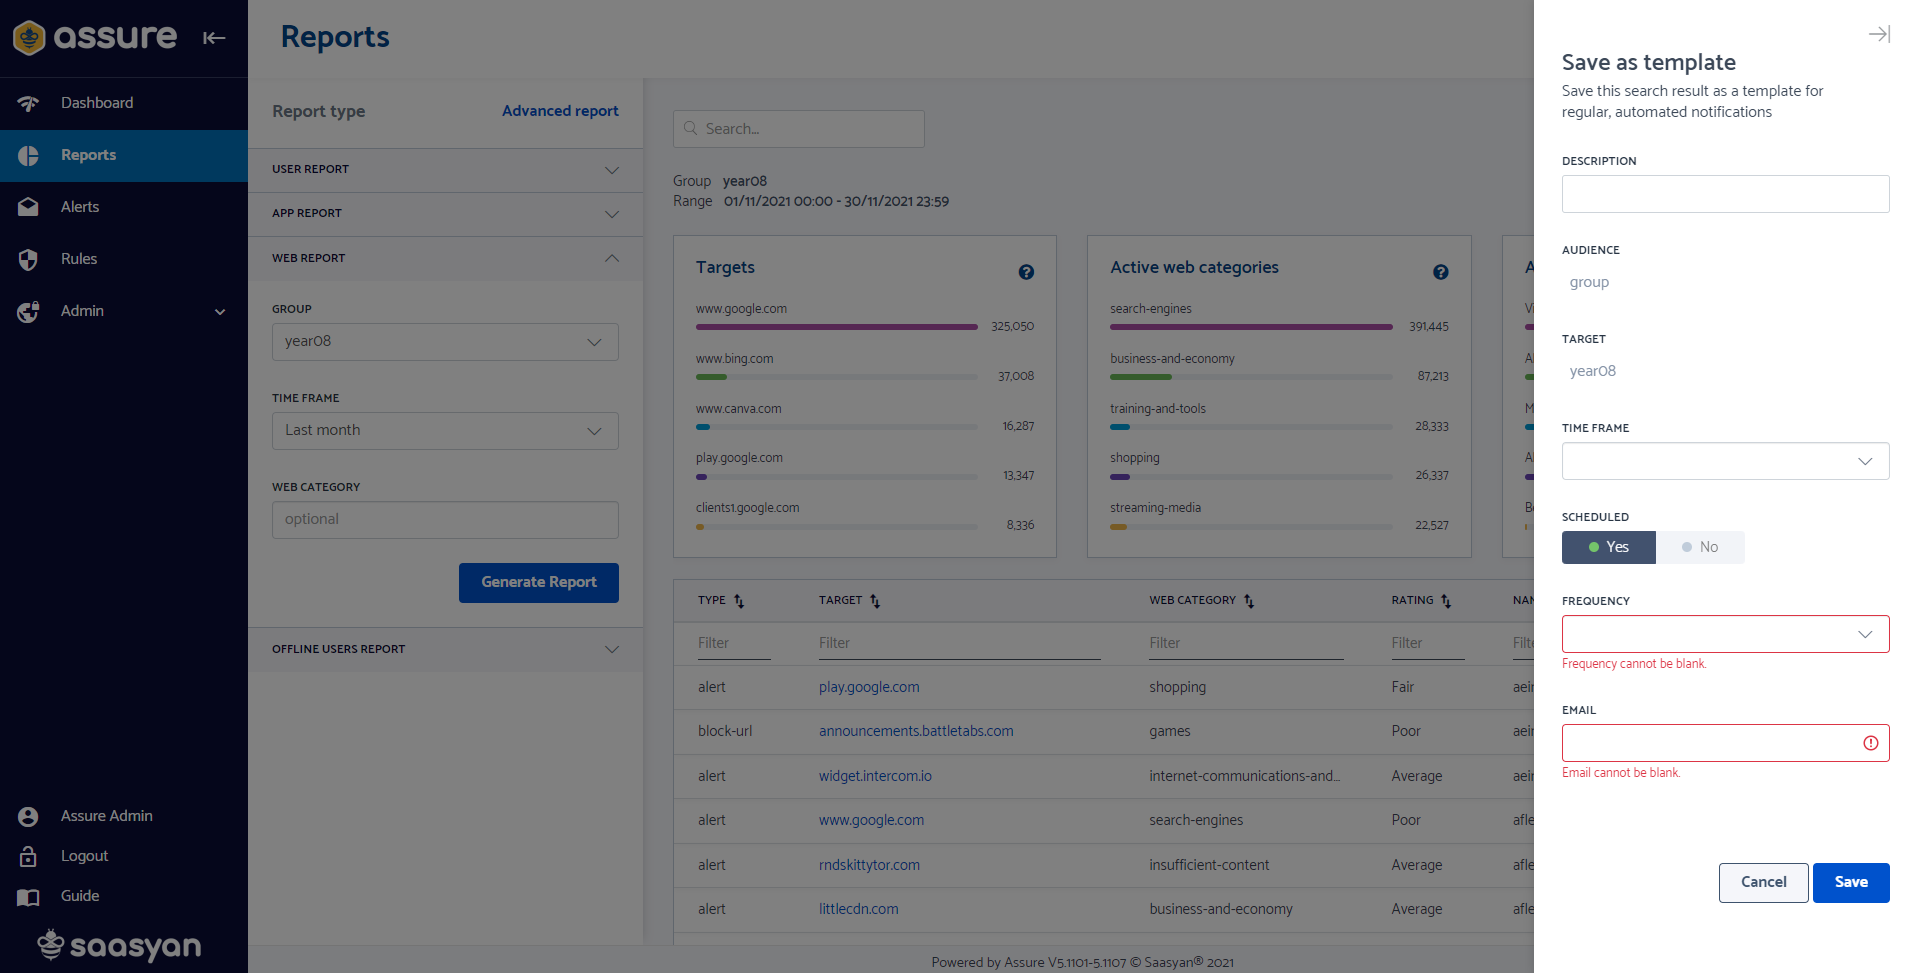
4. To save a report, please complete the following steps:
- Generate a report as per step 1 and 2 of this guide.
- Click the Save button in the top right.
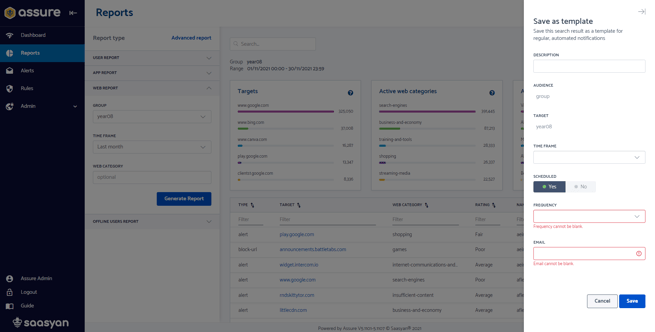
- Enter a Description for the report for easier identification of it.
- Select a Timeframe for the report.
- Select the Yes option for this to be a Scheduled report that gets sent to a select email address.
- Select the Frequency at which this report will be emailed to the selected user.
- Enter an email address into the Email field for the scheduled report to be sent to going forward. Please note that you can only enter one email into this field currently.
- Select the No option if you do not wish to schedule this report but to simply save it to be run later within Assure.
- Click the Save button and the report will be saved under the Saved Reports section in the Reports module. If a Scheduled report, it will be sent to the email specified at the selected frequency.
5. To export a report:
- You can click on the PDF button in the top right and then click Proceed.
The Web Report will generate and you can then save it to your PC and send it to others in your team if needed. - You can also click on the CSV button in the top right and export the report as a CSV data file. This export version will show you the list of web pages and information as per the list at the bottom of the Web report page (covered in Step 3).